Hello, Ilchester! Let’s Sew Together

Hello, lovely people of Ilchester and beyond! I’m Eleanor, a local dressmaker, blogger, and sewing enthusiast. Nestled here in charming Ilchester, I’ve spent countless hours threading needles, cutting fabrics, and crafting outfits that bring joy and confidence to the wearer – me!
This blog is a cosy corner for beginners and seasoned stitchers alike. Together, we’ll explore projects that celebrate creativity, sustainability, and, of course, style. To kick things off, I’m thrilled to share an exciting sewing project we’ll be diving into over the next few posts:
- How to Make a Pinafore Dress – A versatile and timeless piece for any wardrobe.
The project will include step-by-step instructions, helpful tips, and video tutorials to guide you along the way. Plus, I’ll share snippets of my life in Ilchester, where the local charm and countryside inspire every stitch I sew.
Are you ready to pick up your pins and start this creative journey with me? Let’s make something beautiful together!
What you’ll need for the Pinafore dress project.
Whilst you can hand-sew this project with needle and thread, I’ll assume you have at least a simple sewing machine which can sew a straight stitch and a simple zig-zag stitch. You’ll need some dress-making pins, sharp scissors that you’ll use only for cutting fabric – 150mm to 200mm length scissor blades for this project – these are most commonly available. Some scissors for cutting paper – we’ll use these for cutting pattern pieces. A roll of paper about 40 to 50cm wide and from which you can unroll lengths of around 1.5 m. I like to use remnants of wall-paper rolls or even buy a cheap roll of smooth (not textured) wall-paper just for drawing patterns on the back to cut out. Some sticky tape for sticking some pattern pieces together when we need to overlap them for wider patterns. Fabric of your choice and a reel of matching thread. Some tailor’s chalk in a colour that is contrasting to your fabric would be really useful. Also, a simple needle and white thread will come in handy for adding tailor tacks – stitches we use to mark a point, or basting stitches – long hand-stitches we use to simply hold two layers of fabric together until we have stitched them permanently in place using a sewing machine – the basting stitches then get removed. Basting stitches are sometimes better than pinning materials together.
Oh, and you’ll need a notepad and pen for writing down measurements and a shopping list of items you’ll want to buy.
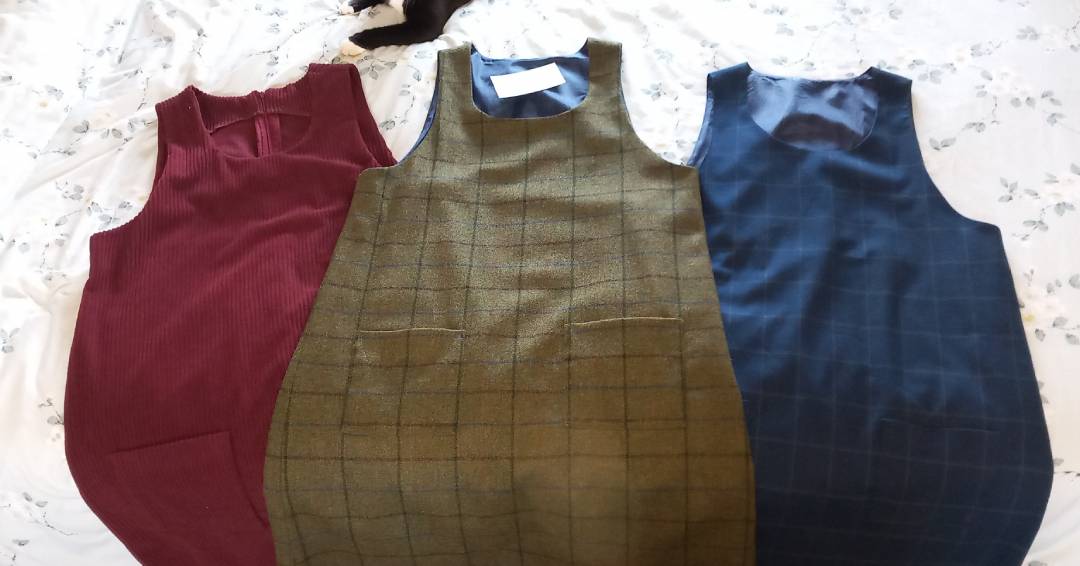
In our first project, we’ll be making a classic, simple pinafore dress like the ones pictured below.
All three of these dresses come from the same simple pattern. I’ll show you how to make the pattern for your size.
If you’d like to make this pinafore dress for yourself or someone you know, grab your tape measure and write down your measurements – or those for your intended wearer.
- Bust measurement – horizontal circumference over the fullest part the bust.
- Natural waist measurement – measure the circumference at the narrowest part of the tummy, mid-body.
- Hip measurement – horizontal circumference at the widest part of the hips.
- Length from mid-shoulder down the front to natural waist line – over the fullest part of the bust.
- Length from mid-shoulder down to your desired hemline – perhaps you’d prefer this to be short, above knee or below knee – your choice.
Using the measurements.
We’ll use your measurements to draw a pattern that we’ll use as the basis for making a pinafore dress that fits. We’ll draw the shape, including choosing the style of neck-line you’d like, and the width of the dress over the shoulders. We’ll add a little to the measurements to allow for ‘ease’ – that’s the space you need under your clothes to allow you to move in them, we don’t want them skin-tight! We’ll also add a little to allow for the seams we need to sew the pieces together.
The Pinafore dress – A Humble Classic
What’s so great about the humble pinafore dress is that, at it’s simplest, it’s just two pieces of material sewn together.
Now, that said, it’s just as simple to do the same again in a lighter lining material and insert that inside the main pinafore dress to create a really comfy and professional looking dress.
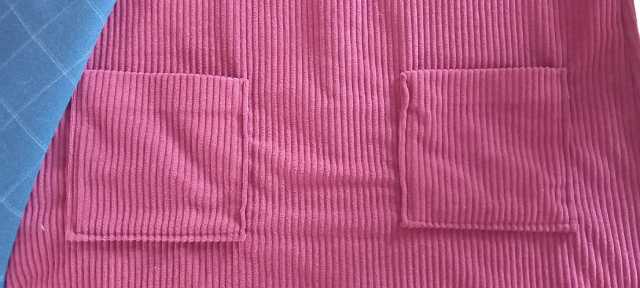
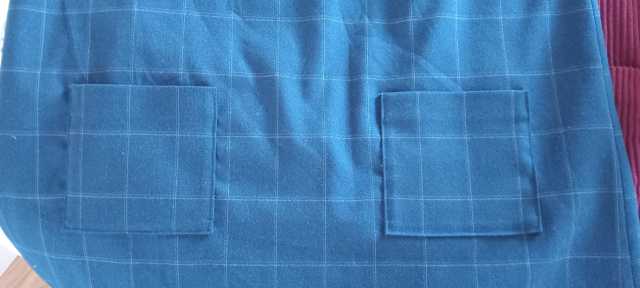
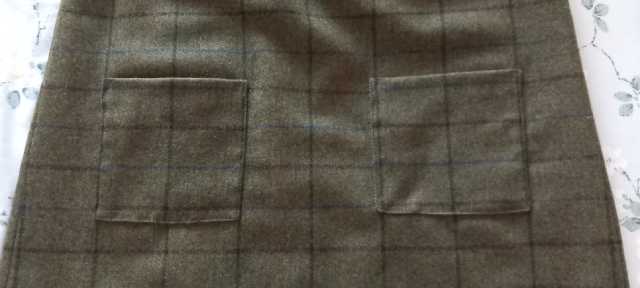
And, what’s more, we can fancy things up and add – simple – patch pockets, change the shape of the neckline and even, if we want to, add a zip or button openings / closures.
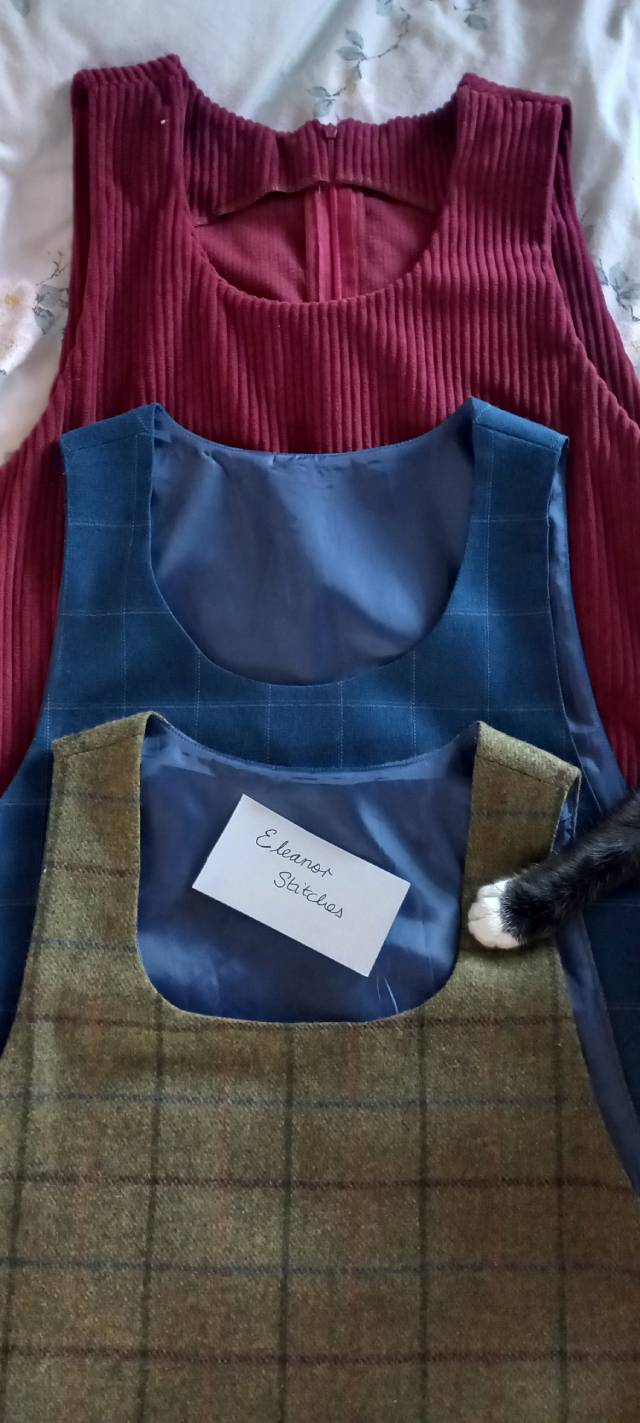
But let’s not get ahead of ourselves. We’ll start by making a simple pinafore dress that can be put on over our heads, just like the ones pictured.
Here, the examples are made in corduroy, wool, and cotton / acrylic mix.
Of course, we are all excited to get started actually sewing but we’ll have fun first making our pattern pieces which we’ll use to work out just how much material we’ll need for the project, and to cut out the fabric in the size and shapes we need.
Then we’ll shop for our material.
Once we know how much material we need we can go shopping. This is great fun – browsing fabric shops in-store or online, and… charity shops – yes! We can recycle materials we get from old bedding or, as I have done lots of times, buy quality over-sized garments in the charity shops and cut out the material we need for a project, from the over-sized garment. What a great way of re-using material! Let’s keep it sustainable!
In my next post, I’ll take my set of measurements and use them to draw the pattern for my next pinafore dress which I’ll make in denim. I intend to wear my denim pinafore when gardening and running errands and doing household chores, a practical and refreshing alternative to wearing jeans.
